
- Prepare the plant for removal from the existing pot by making sure the soil is moist, but not too wet. If the soil is dry, go ahead and add a little bit of water to allow the soil to be more ‘flexible’ for ease of removal.
- Lay the pot on its side and carefully pull it away from the plant. Tap, or gently squeeze, around the outside of the pot to help release the plant and soil from the pot.

TIP: If there are drainage holes on the bottom, push the soil and plant out from the pot from the bottom using your fingers or a blunt object like a stick.
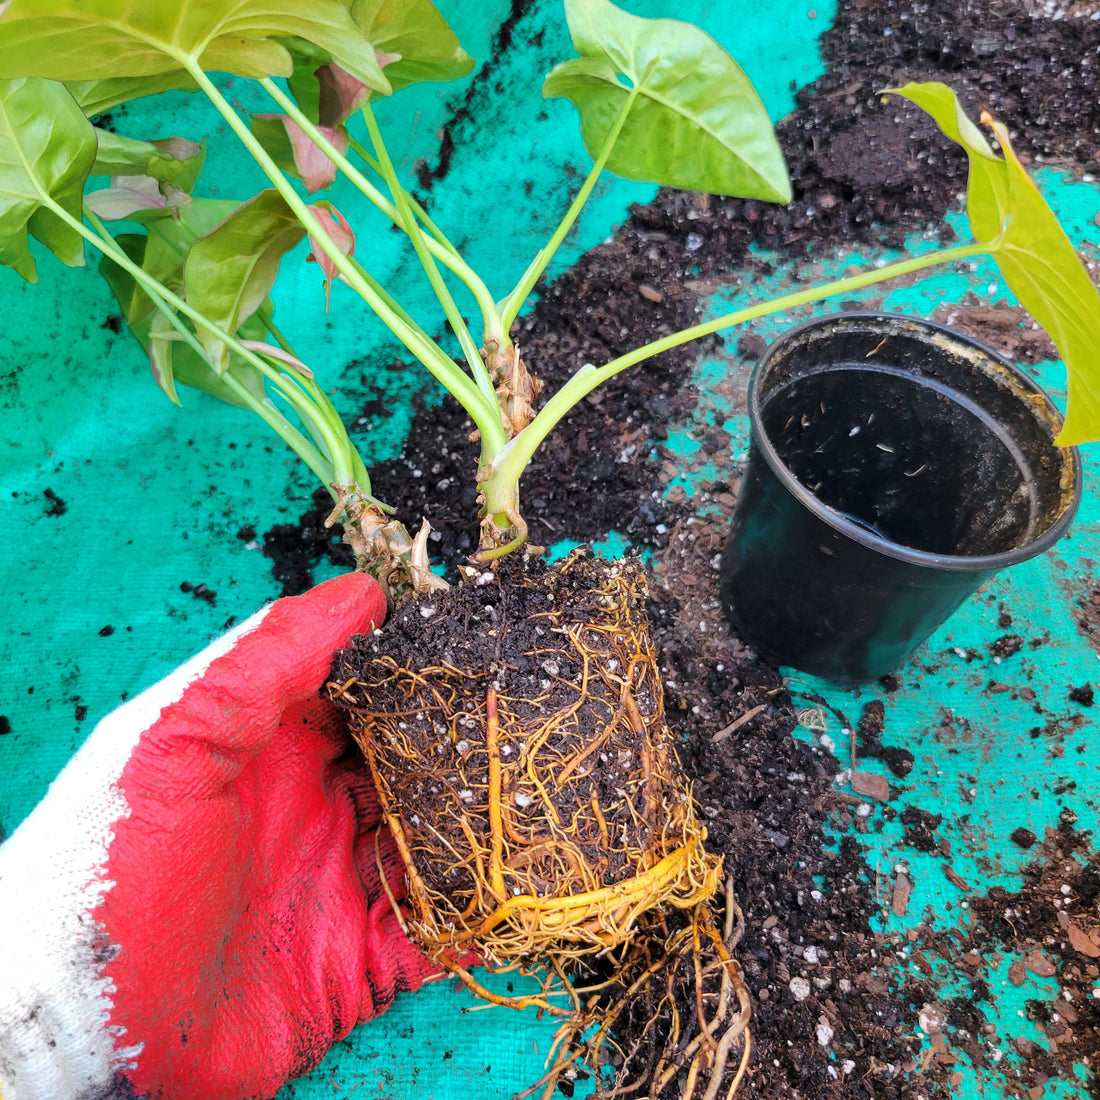
- Gently loosen the root ball and surrounding soil. Recommend adding a small amount of water to help.
- Starting with a clean pot, add a small amount (about one half to one inch) of soil to the bottom.
TIP: Choose a pot that is about 2” larger than the existing pot, as this gives the plant enough room to expand without overwhelming it with too much space.
- Insert and position the plant in the center (or however you prefer to design) of the pot, making sure that it is sitting upright.
- Carefully, fill in around the plant with new soil. Recommend doing this in layers, while gently pressing down between each layer to be sure the soil and plant will stay positioned upright.
- Water the newly potted plant until water exits the bottom of the pot. This will help the plant adjust to its new pot.
TIP: You may need to add a bit more soil if the soil level drops significantly after the initial watering.
- After repotting, now is a good time to trim or remove any damaged leaves.
- Smile and enjoy your newly potted plant!